Okay, confession time!
I had the best of intentions. I measured, designed and purchased everything I needed OVER A YEAR AGO! Maybe it was the logistics of risking my laundry being out of commission for too long, or my plumbing anxieties, but I am determined to conquer this long-overdue project: adding cabinets to my laundry room. I will be updating you with real-time progress, insights, and the inevitable challenges that come with such a project.
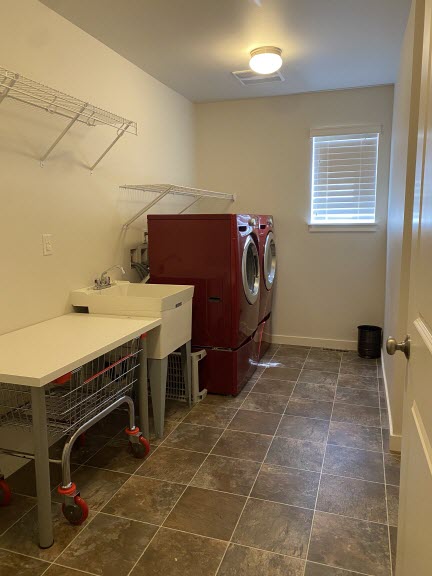
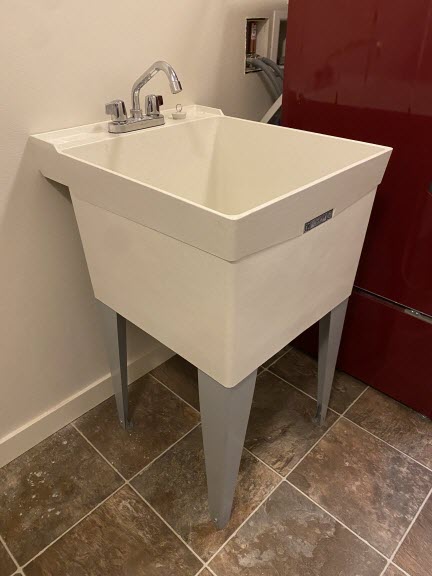
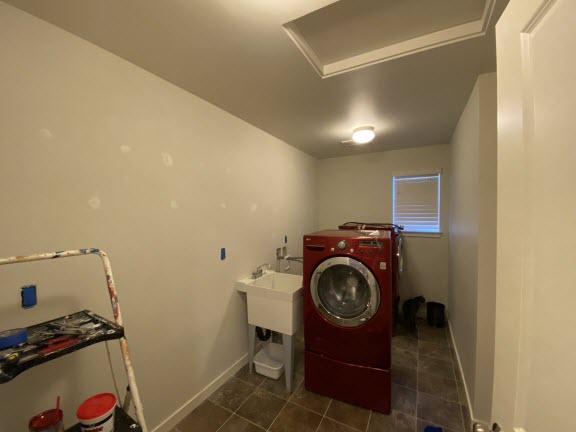
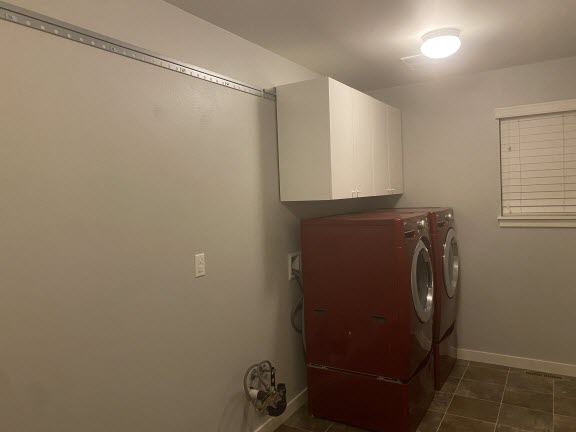
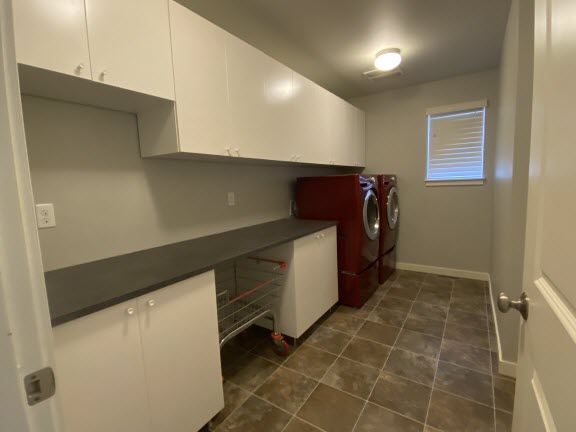
It’s 7/29/2023, and today is the day I put an end to the procrastination. Join me as I turn my basic builder-grade laundry room with wire shelving and plastic utility sink into a functional and aesthetically pleasing space!
The Intimidating Start
The first obstacle on my way to success? My fear of plumbing. Yes, you heard that right! Due to some unfortunate mishaps over the year, the mere thought of dealing with my own plumbing was enough to make me hesitant. However, I’m determined to push through.
Turning Off the Water
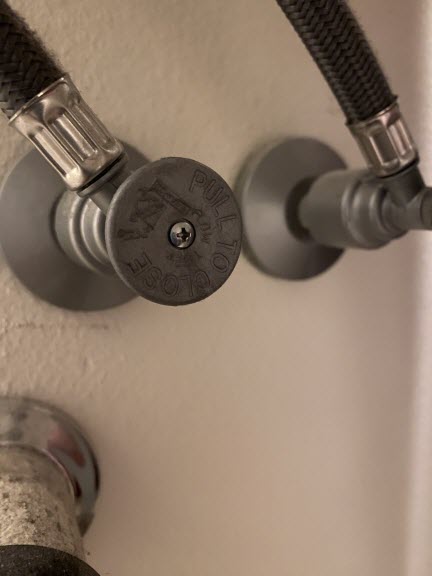
With a deep breath, I approached the utility sink, knowing I had to remove it to make room for the new base cabinets. The water supply lines were the first challenge. I wrestled with the valves, worried that I might damage something. After some cautious maneuvering and firm pulls, the water supply was finally turned off. Success!
Next on my list was removing the sink to create more space to maneuver the washer and dryer. However, I discovered that the sink must be caulked to the wall, so I decided to leave it for later. I am determined to make enough progress tonight so this project doesn’t drag on for another year.
Uncharted Territory: Turning Off the Washer Water
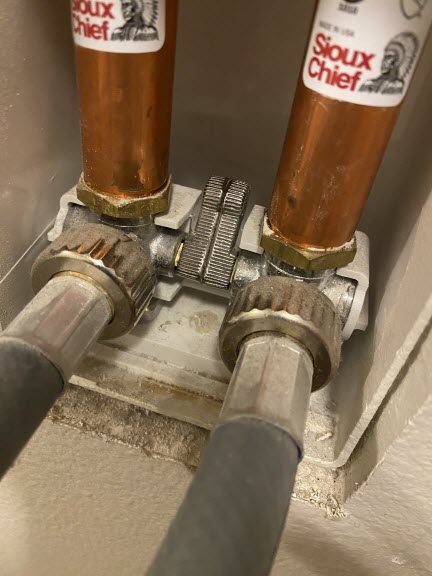
As I moved on to disconnect the washer’s water lines, I faced another unfamiliar challenge. How do you turn off the water for the washer? A quick search on YouTube provided some guidance, but the valve proved uncooperative. I’ll admit, I decided to paint around the lines instead of risking a disaster. One step at a time, right?
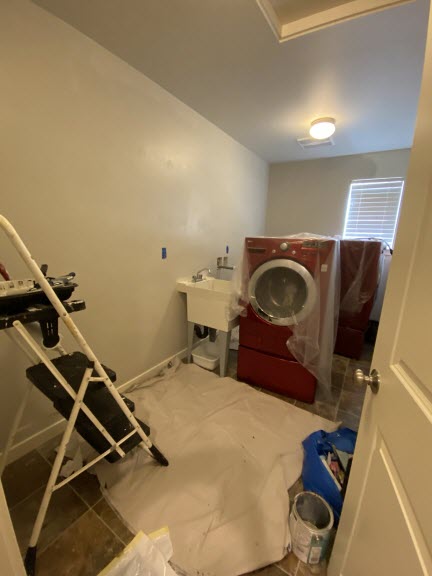
Preparing for the Transformation
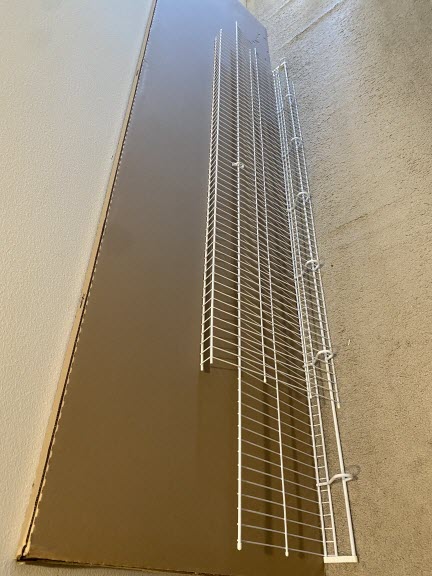
The wire shelves have been removed and the holes spackled. The outlet covers were removed and taped off. My strategy is to focus on the area around the washer and dryer first, to minimize disruptions in laundry service.
Years ago when we purchased our first house, we experienced a leaky roof and its related damage. It was a traumatizing experience but I had an amazing contractor that showed me how to blend knock-down wall texture so that it was less noticeable. I find this really helpful when trying to disguise spackled holes.
The Secret of the Texture
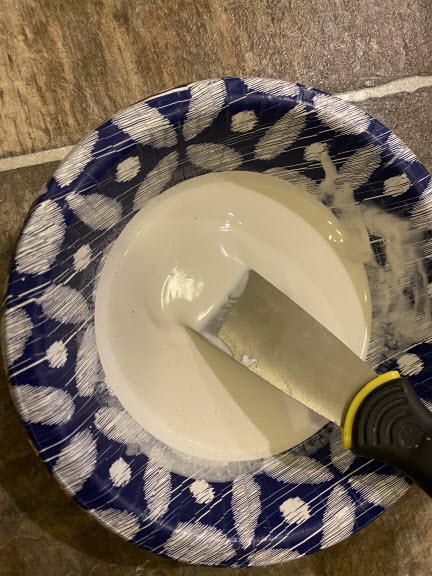
The trick is to water down the spackling mixture until it is the consistency of pancake batter. Apply it with a sponge or something with a random texture.
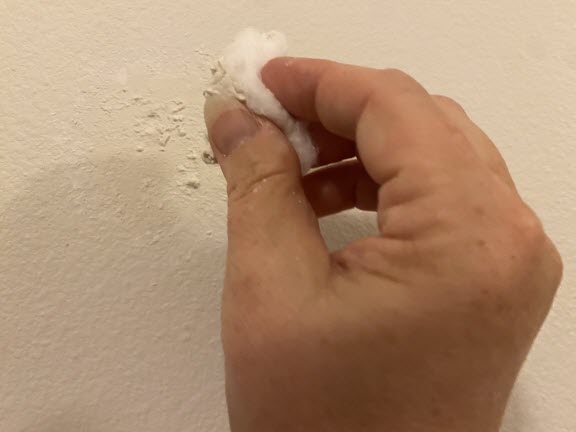
Since I am working with really small areas, I am using a cotton ball that is pulled apart to give it a more random shape.
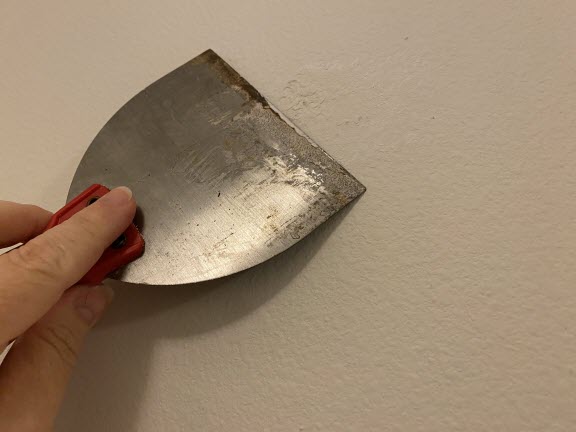
Once the spackling is partially dry, gently scrape off the extra peaks with a wide spackling knife. It takes a bit of practice to match up to your texture, but you can wipe it off and try again until you get it right.
The journey has just begun, and I’m eager to see how this laundry room transformation unfolds. While my fears and anxieties tried to hold me back, I’ve taken the first steps towards the laundry room of my dreams. Watch for updates here as I share my progress, the hurdles I overcome, and the lessons I learn along the way.
Day 2 Update (7/30/2023)
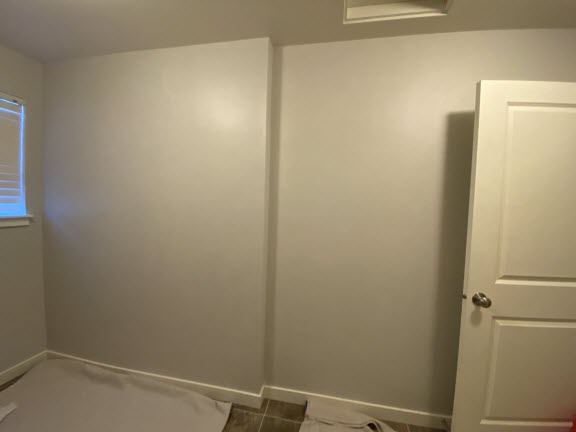
The 2nd coat of paint has been applied to the left side of the laundry room, now I just need to wait for it to dry. I never get tired of this paint color. It is Sherwin Williams Repose Grey and it possesses a chameleon-like quality, transforming into shades of grey, blue or lavender depending on the amount of light in the room. It also complements our cream-colored millwork without making it look dingy by comparison.
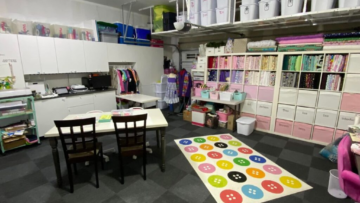
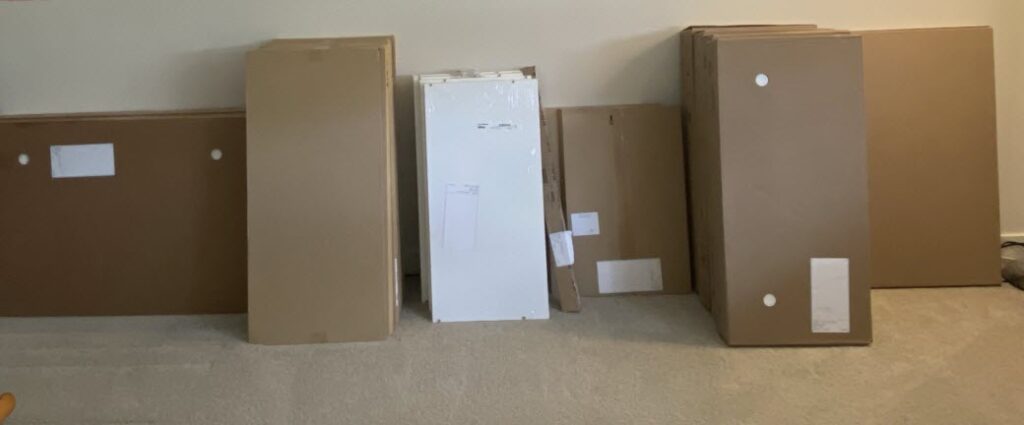
Since I am not a fan of sitting and watching paint dry, I am going to get started assembling the IKEA cabinets that have lived in my bedroom for more than a year now. Unfortunately, I ran into another hiccup in the project. I designed my plan in the IKEA Home Planner that has since been discontinued, so I guess I will be winging it a bit. I am sure I downloaded my plan more than a few times, but I just can’t remember where I filed it.
Several hours later…
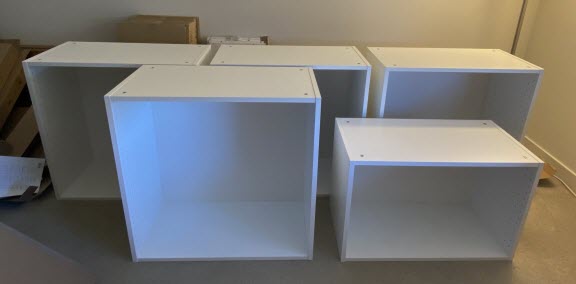
I have gotten all of the upper cabinet frames built and ready to hang as soon as I finish doing the math to figure out how high to put the suspension rail.

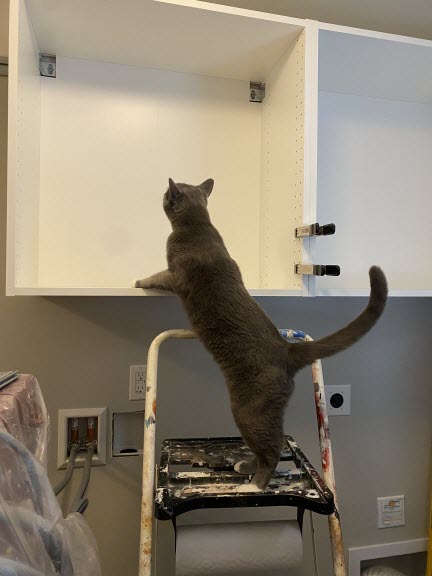
After realizing that I couldn’t find my trusty stud finder because I had lent to one of my kids, a memory came rushing back. My husband had gifted me an amazing device a while ago, the Walabot, capable of seeing through walls to detect studs, pipes, and even rodents (although I hope I won’t need that part). It was much easier to use than I had thought… just connect it to my phone using a usb cable and a reusable sticky gel pad, open the app and just like Superman… I can see through walls!
Day 3 Update (7/31/2023)
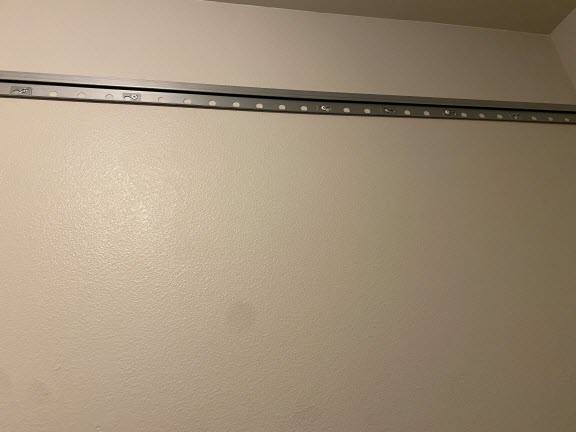
I got a late start today, so didn’t get too far. Mounting the rail took the most time.
I have an entire tool box full of screws, but not the 2.5″ cabinet hanging screws I needed, so a quick trip to Home Depot was required. Using my stud finder toy I located all the studs, then after lots of measuring and double-checking, I drilled the holes. Since it is a bit challenging holding a 7′ rail while attempting to drill the holes in the correct places, ensuring they line up with the studs, I used a scrap piece of the rail to align everything as I went.
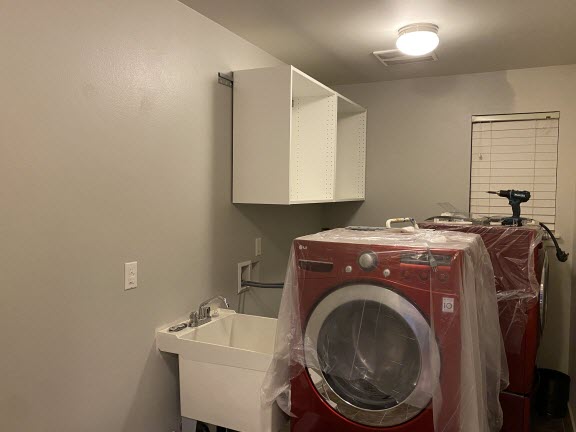
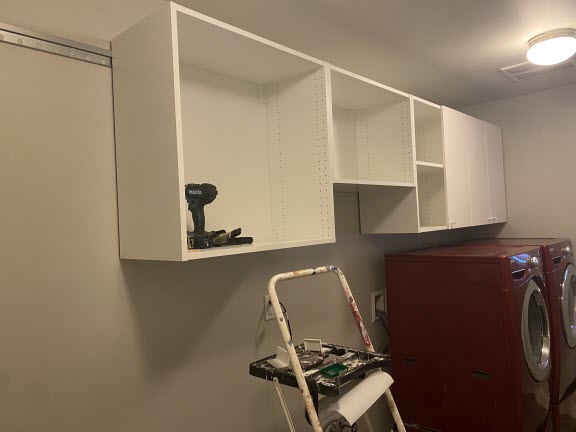
Once the rail was up, it only took us 10 minutes to hang and secure each cabinet (I had help with this part). The hardest part was maneuvering between the washer and dryer. It already feels so different. I am going to have SO much more storage when I am done.
Day 4 Update (8/1/2023)
The inspector came to check out the cabinets early today, and without even scheduling an appointment. At least he seemed pleased with my progress.
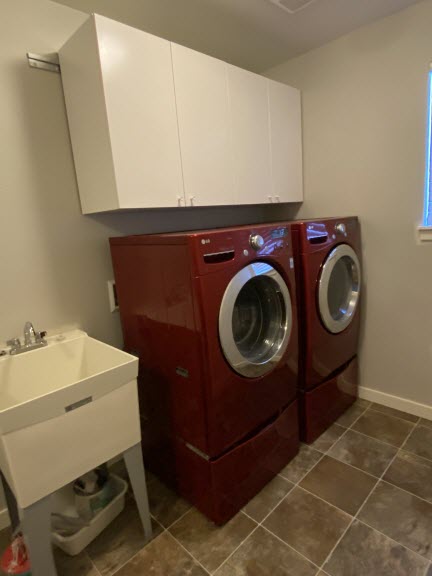
The first two cabinets have shelves, doors and knobs, so the washer and dryer can be placed back into service at least. This will allow me to hang the remainder of the upper cabinets, work on removing the utility sink, and paint the right side of the laundry room. I think the complexity of this project is really just the lack of space to move around. It should get a bit easier from here I hope.
Day 5 Update (8/2/2023)
The right side of the laundry room has a coat of paint and working to dislodge the sink from the wall (hopefully without causing too much damage to the wall).
Once upon a time, I replaced a toilet supply line. It seemed like a really simple fix. I followed the instructions and nothing was leaking, so I decided to reward myself and go outside to relax in the hot tub. About 30 minutes later, once I was nice and relaxed, I heard a hissing sound… only to find that the toilet supply line had exploded. Due to this, and many other seemingly simple plumbing repairs I have done over the years, I have become VERY skeptical of my skills in that area… or that the universe has a twisted sense of humor!
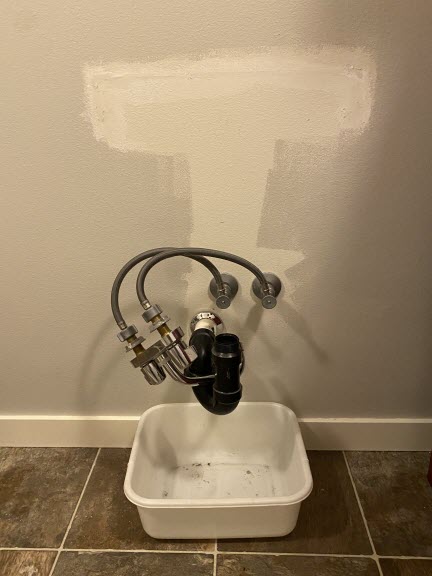
I turned off the house water then with a dishpan under the sink I unhooked the sink supply lines to find just a minimal amount of water in the lines. I proceeded to unhook the drain trap and remove the sink.
So as not to get cocky and tempt the universe to teach me another lesson, I had my husband watch the water supply hoses while I turned the house water supply back on (very slowly, while on speaker phone with him)… no surprises — YAY!!!
Still not trusting the universe, I reattached the faucet to the supply lines for now, so I can have an anxiety-free sleep tonight. Does anyone know of a good “Plumbing for Dummies” class I should take to help build my confidence?
Day 6 Update (8/3/2023)
Today, I had limited time to dedicate to the laundry room project, but I managed to complete all the painting and touch-up work. Additionally, I successfully hung the remaining cabinet-mounting rail, and fortunately, it went quicker than the last one.
Day 7 Update (8/4/2023)
At lunchtime, I listed the utility sink and wire shelving on Green Bee (our local “Buy Nothing” group), so hopefully they will gone before I even finish this project. I love having a place to share things I no longer need rather than sending them to a landfill.
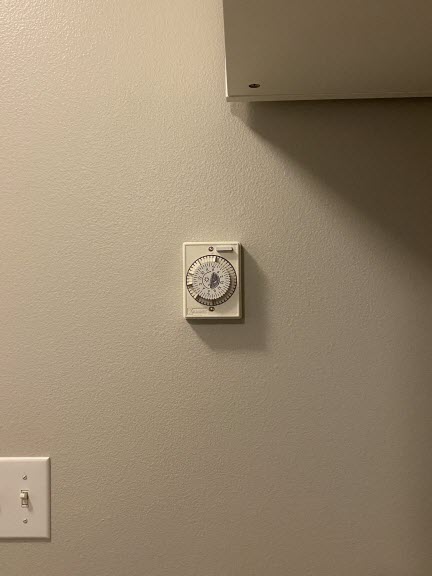
Oops! I hit a snag! You know how they say “Measure Twice, Cut Once”… well I know I measured more than a few times, and still came up short. This is my nemesis, a timer for the whole-house fan on the wall of the laundry room. I should have had room to clear it with the cabinets, but I must not have counted the additional distance that the mounting rail added… so here we are…
Fortunately, I had planned on having one short cabinet over the sink to give me a bit more room, so this will be repurposed.

Original Design with extra clearance above the sink and an empty space to store my rolling laundry cart.
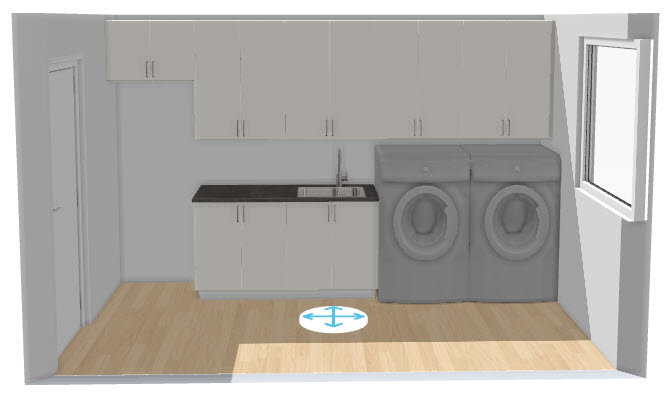
Modified Design with extra space on the left to clear the fan switch. I will likely put a hanging bar to hang clothes and I will still have room to store my rolling laundry cart below. I just need to decide if I want to have the countertop extend into that space or not.
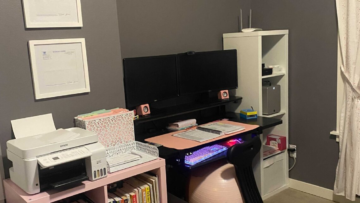
Note: I did figure out why my measurements were off though. I had originally planned for the cabinets to be mounted higher to allow room for the 3D printers to be used on the new countertop, but since that plan changed, I was able to put them lower (which meant they no longer cleared the switch). Live and learn!
It is all rearranged now and the shelves, doors, and knobs have been installed. With any luck I should be able to get the base cabinets finished this weekend.

Day 8 Update (8/5/2023)
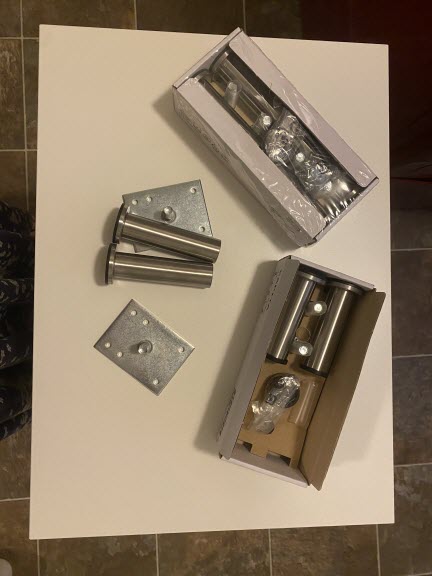
I will have to admit that I feel a bit guilty hoarding spare IKEA parts, however today I was a bit vindicated when I realized that I hadn’t purchased the legs for the base cabinets (they were out of stock when I placed the main order). I rummaged around in my dedicated IKEA Spare Parts tote, and found just what I needed. Whew!
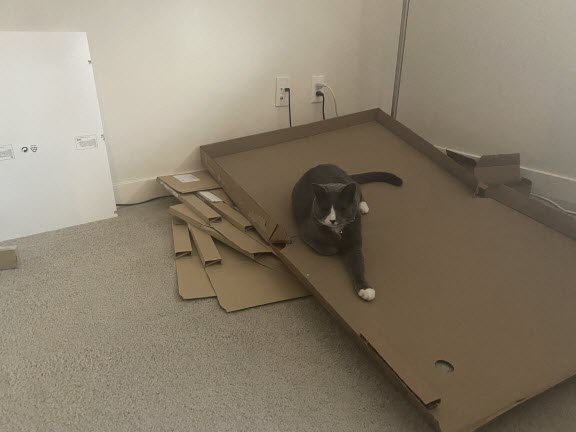
The inspector keeps showing up and watching everything I do. Should I be nervous?
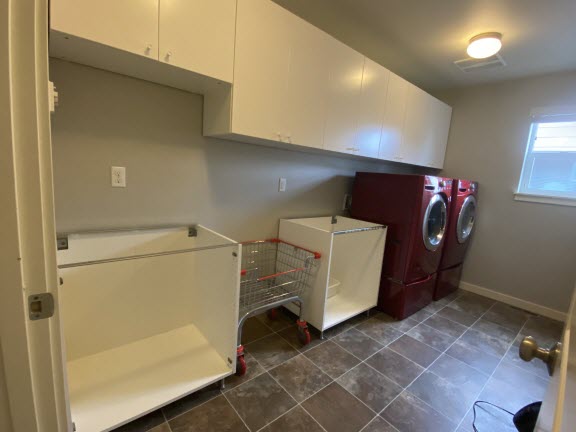
The base cabinets are assembled and set in place.
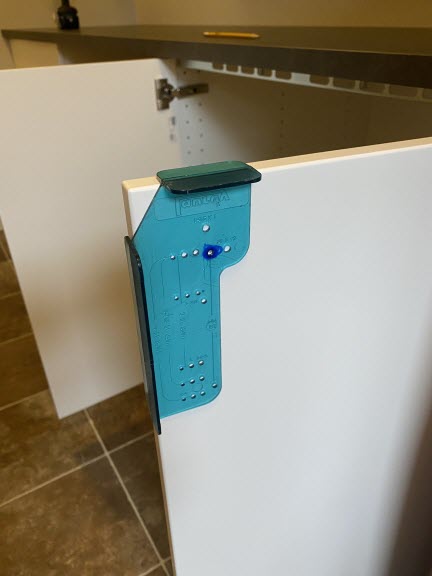
This handy cabinet knob jig/template is great for making sure all the knobs are in the same relative location.
I needed to cut 8″ off of the countertop but now the countertop, doors, shelves and knobs are all done for the base cabinets. I think I am done (at least for now). I will eventually add a new sink basin, but I rarely use it, so I will wait until I find the perfect one.
In summary, this project took approximately 35 hours over 8 days and cost about $1800. I was able to complete most of the work by myself, other than moving and lifting the cabinets and countertop into place.
If you’re contemplating your own DIY project, don’t let fear stand in your way. Embrace the challenges, and remember that every successful DIYer started somewhere. Stay tuned for the next update on my laundry room renovation journey, and together, let’s celebrate the joys and triumphs of turning a house into a home, one DIY project at a time!